Comprehensive Guide To Rebuild Pump Kit For Optimal Performance
Understanding Kit Pump Rebuilds
Kit pump rebuilds are essential for maintaining the efficiency and performance of your pumping system. Whether you’re dealing with a gear pump, diaphragm pump, or any other type, knowing when and how to rebuild your kit pump can save you time, money, and unnecessary downtime.
What is a Kit Pump?
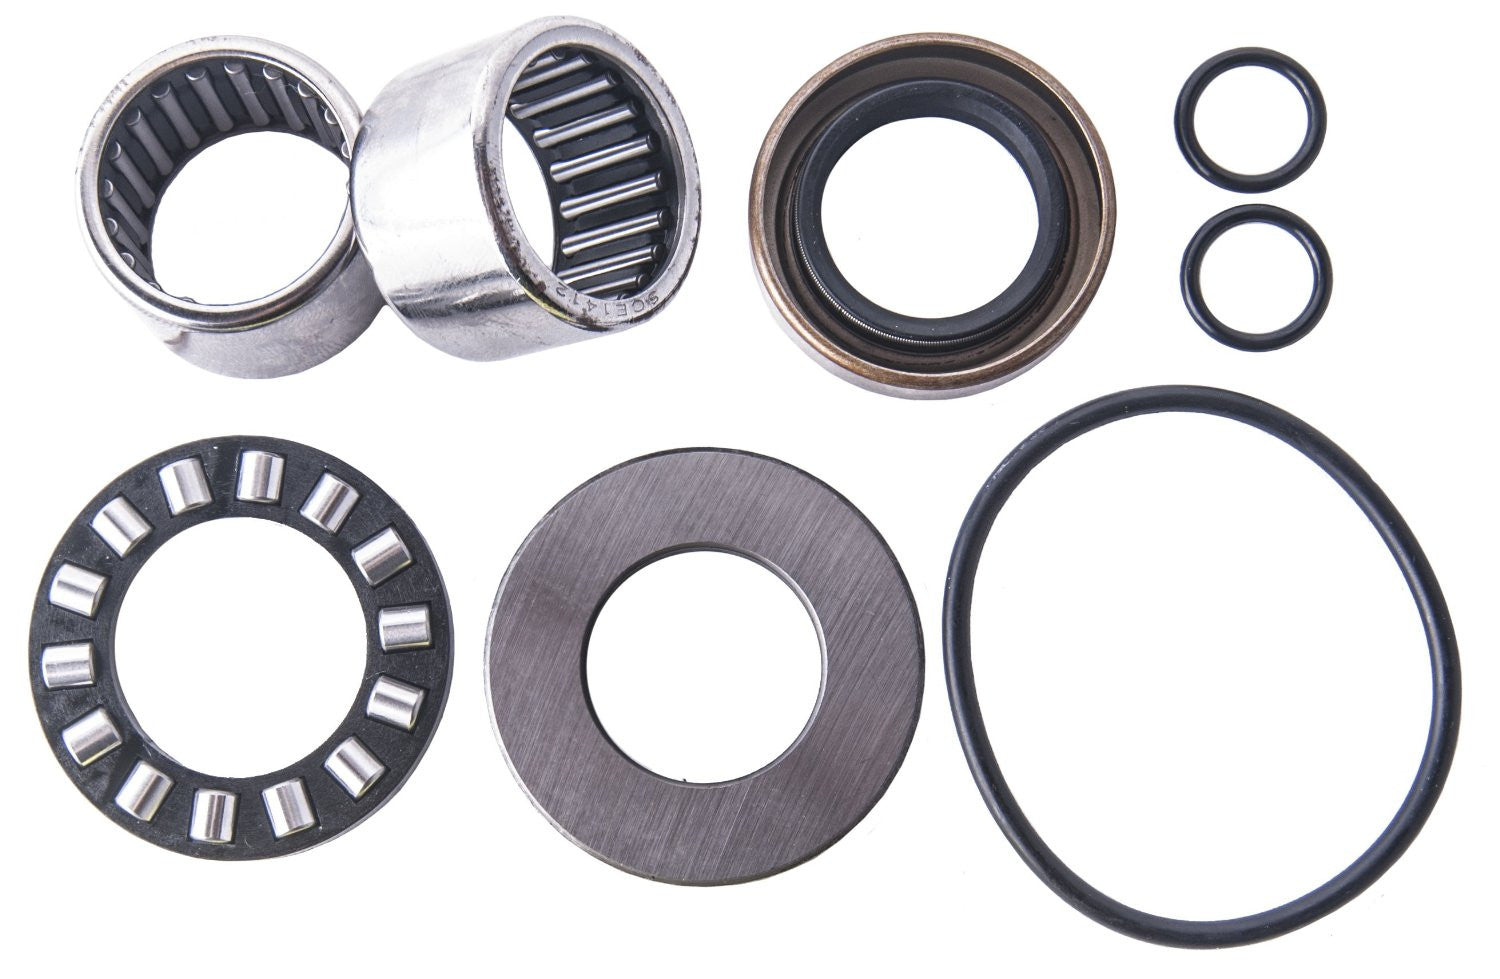
A kit pump refers to a pump assembly that can be serviced or replaced using a specific kit designed for that model. These kits often include all the necessary parts for a complete overhaul, such as O-rings, seals, bearings, and any additional components needed for the pump's specific application.
Common Types of Kit Pumps
- Gear Pumps: Used in various industrial applications for their reliability in moving fluids.
- Diaphragm Pumps: Ideal for transferring corrosive or abrasive fluids and often used in chemical processing.
- Centrifugal Pumps: Commonly used in agricultural and irrigation systems.
Signs Your Kit Pump Needs Rebuilding
Recognizing the signs that indicate your kit pump needs attention is crucial for preventing further damage. Here are some common indicators:
- Unusual Noise: Grinding or rattling sounds can signal internal wear.
- Leaks: Visible fluid leaks around the pump indicate seal failure.
- Decreased Performance: Reduced flow rate or pressure suggests that the pump is struggling.
Steps to Rebuild Your Kit Pump
Rebuilding your kit pump is a straightforward process if you follow the correct steps. Here’s a general guide:
1. Gather Your Tools and Materials
Before starting the rebuild, ensure you have the necessary tools: wrenches, screwdrivers, pliers, and a clean workspace. Additionally, have your kit pump rebuild kit on hand.
2. Disassemble the Pump
Carefully disassemble the pump by removing the fasteners and keeping track of the order of components. Take photos if necessary to aid in reassembly.
3. Inspect Components
Examine each part for wear or damage. This includes checking bearings, seals, and housing. Replace any damaged components with those from your rebuild kit.
4. Clean All Parts
Thoroughly clean all components, ensuring that there is no dirt or debris that could affect performance. Use appropriate cleaning agents that are safe for the materials used in your pump.
5. Reassemble the Pump
Follow the reverse order of disassembly to reassemble your pump. Be sure to apply any necessary lubrication to moving parts.
6. Test the Pump
Once reassembled, conduct tests to ensure that the pump operates correctly. Check for leaks and monitor the performance before returning it to service.
Benefits of Regular Kit Pump Rebuilds
Regular maintenance and timely rebuilds can extend the lifespan of your kit pump and enhance its performance. Key benefits include:
- Enhanced Efficiency: A well-maintained pump operates more efficiently.
- Cost Savings: Preventive maintenance can save on major repair costs down the line.
- Reduced Downtime: Regular checks and rebuilds minimize unexpected failures and operational interruptions.
Conclusion
Rebuilding your kit pump is an integral part of keeping it running smoothly. By recognizing the signs of wear, following the correct rebuilding process, and conducting regular maintenance, you can ensure that your pump remains in optimal condition. Remember, timely intervention is key to preventing more significant issues and extending the life of your equipment.